Making the space for making!

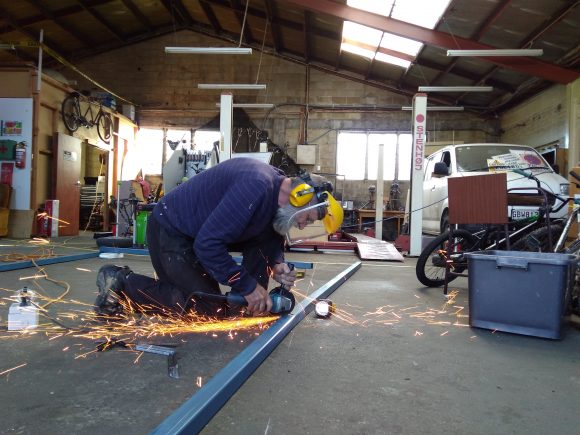
Tonight, Steve was hard at work on building out the weaving studio in the garage area. It’s great to have the concrete floors available for this sort of work, for obvious reasons:
We gained a new tool in our computer toolkit: a USB-to-IDE/SATA hard drive adapter. This is something I bought for consolidating data off a pile of hard drives from several generations of old computers. It worked great for that job, but now that it’s done I don’t need it anymore – free to borrow or use it at makerspace.

Slightly less visibly – we’re a bit closer to having a new web server, which should be considerably quicker, quieter, more reliable, and more power efficient. Current plans are to provide it with battery backup via a Toyota-makerspace collaboration, perhaps with solar power at some stage! More details to come.
Car repairs at the VCW!

One of the perks of Makerspace membership is access to the 4-post car hoist at the VCW.

I just wanted to share a recent success story from this afternoon: a WoF revealed that my car needed a couple suspension bushings replaced – the shop doing the WoF quoted about $110 to do the job, parts included. As car repair jobs go, I think that was a reasonable estimate. But, I was able to get OEM parts for well under half that amount, and – using the hoist – easily do the job in about 45 minutes this afternoon including cleanup!

Using the inductor tester

inductor tester
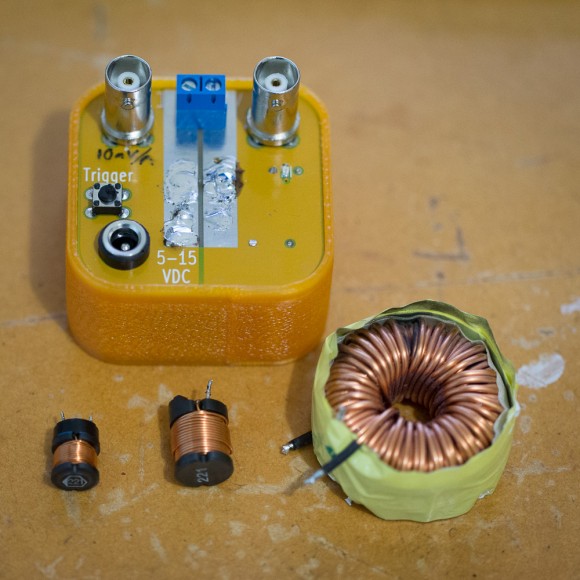
The inductor tester, and inductors used for examples below

A few weeks back, we had a talk on KiCad (presentation available at http://ianrrees.github.io/KiCad_talk/ ) where we ordered some PCBs to make an inductor tester (Henryometer?) from dirty PCBs. Those boards came in this week, and a few folks have already put theirs together. This post aims to be a quick guide to the usage of the tester; if you’d like to build one yourself just let Ian know, parts cost is $15. You’ll need an oscilloscope and a current-limited DC power supply to make use of it.

Continue reading “Using the inductor tester”

Debugging AVRs (without Atmel Studio)

This post is somewhere between a guide and a collection of notes, aimed at debugging programs for AVR microcontrollers (like the ones in most Arduinos) “on target”. We’ll be using an AVR Dragon connected to the target micro via the normal 6-pin programming header, with a Mac or Linux PC as the host.

Although this is a bit more advanced than most of our other projects, it’s really quite approachable and is a very powerful technique for fixing AVR software problems.

From a high level; we’ll use a debugging program on a Mac (or Linux, Windows, etc) “host” computer, which communicates with a Dragon “In Circuit Emulator” (ICE) via USB to debug a buggy program running on the “target” AVR, which is presumably running in some circuit we’re interested in. Small variations might apply for Windows hosts, using JTAG instead of DebugWIRE, other debugger tools (Atmel JTAGICE mkII for example), etc.

Continue reading “Debugging AVRs (without Atmel Studio)”

Arduinos and Macs

arduino

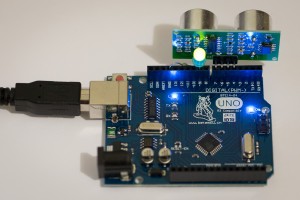
This evening, I finally got around to unwrapping the Arduino clone that came with my DSpace membership. Starting a project for the board couldn’t be easier, using the nice Arduino IDE from https://www.arduino.cc, but I ran into a little snag when it was time to upload the program onto the board. It turns out that these clone Arduinos use a newish low-cost USB to serial converter chip called a CH340G, rather than the FTDI brand chips used in the genuine Arduino boards. The CH340G that isn’t supported by MacOS by default, and I use MacOS, so the board didn’t show up in the Arduino application’s list of serial ports…

Fortunately, other folks have run into the same problem and have written up some nice blog posts on how to solve exactly this issue!

Sourcing RepRap parts around Dunedin

Things to note

  • Don’t get too hung up on bolt length. Get something longer than required and cut it down with a dremal or hacksaw.
  • Some reprap parts lists don’t include the extruder parts, so make sure you read what you need for those as well.
  • Please add comments for other places you have bought stuff or for things I need to fix.

Continue reading “Sourcing RepRap parts around Dunedin”

Beginner’s soldering

A month ago we did some freeform soldering for beginners, this coming week we’re going to repeat the board soldering night for beginners we did last year. Thursday this week May 10th is board soldering night – please bring along a soldering iron of you have one.

Last year we built badges with an Arduino on it that could do blinky LEDs, they were hard to program though without a special cable and used expensive 3v batteries. This year we have a new add-on kit that rectifies those limitations of the badge kit – it includes a USB to serial converter and allows you to power your badge from your computer.

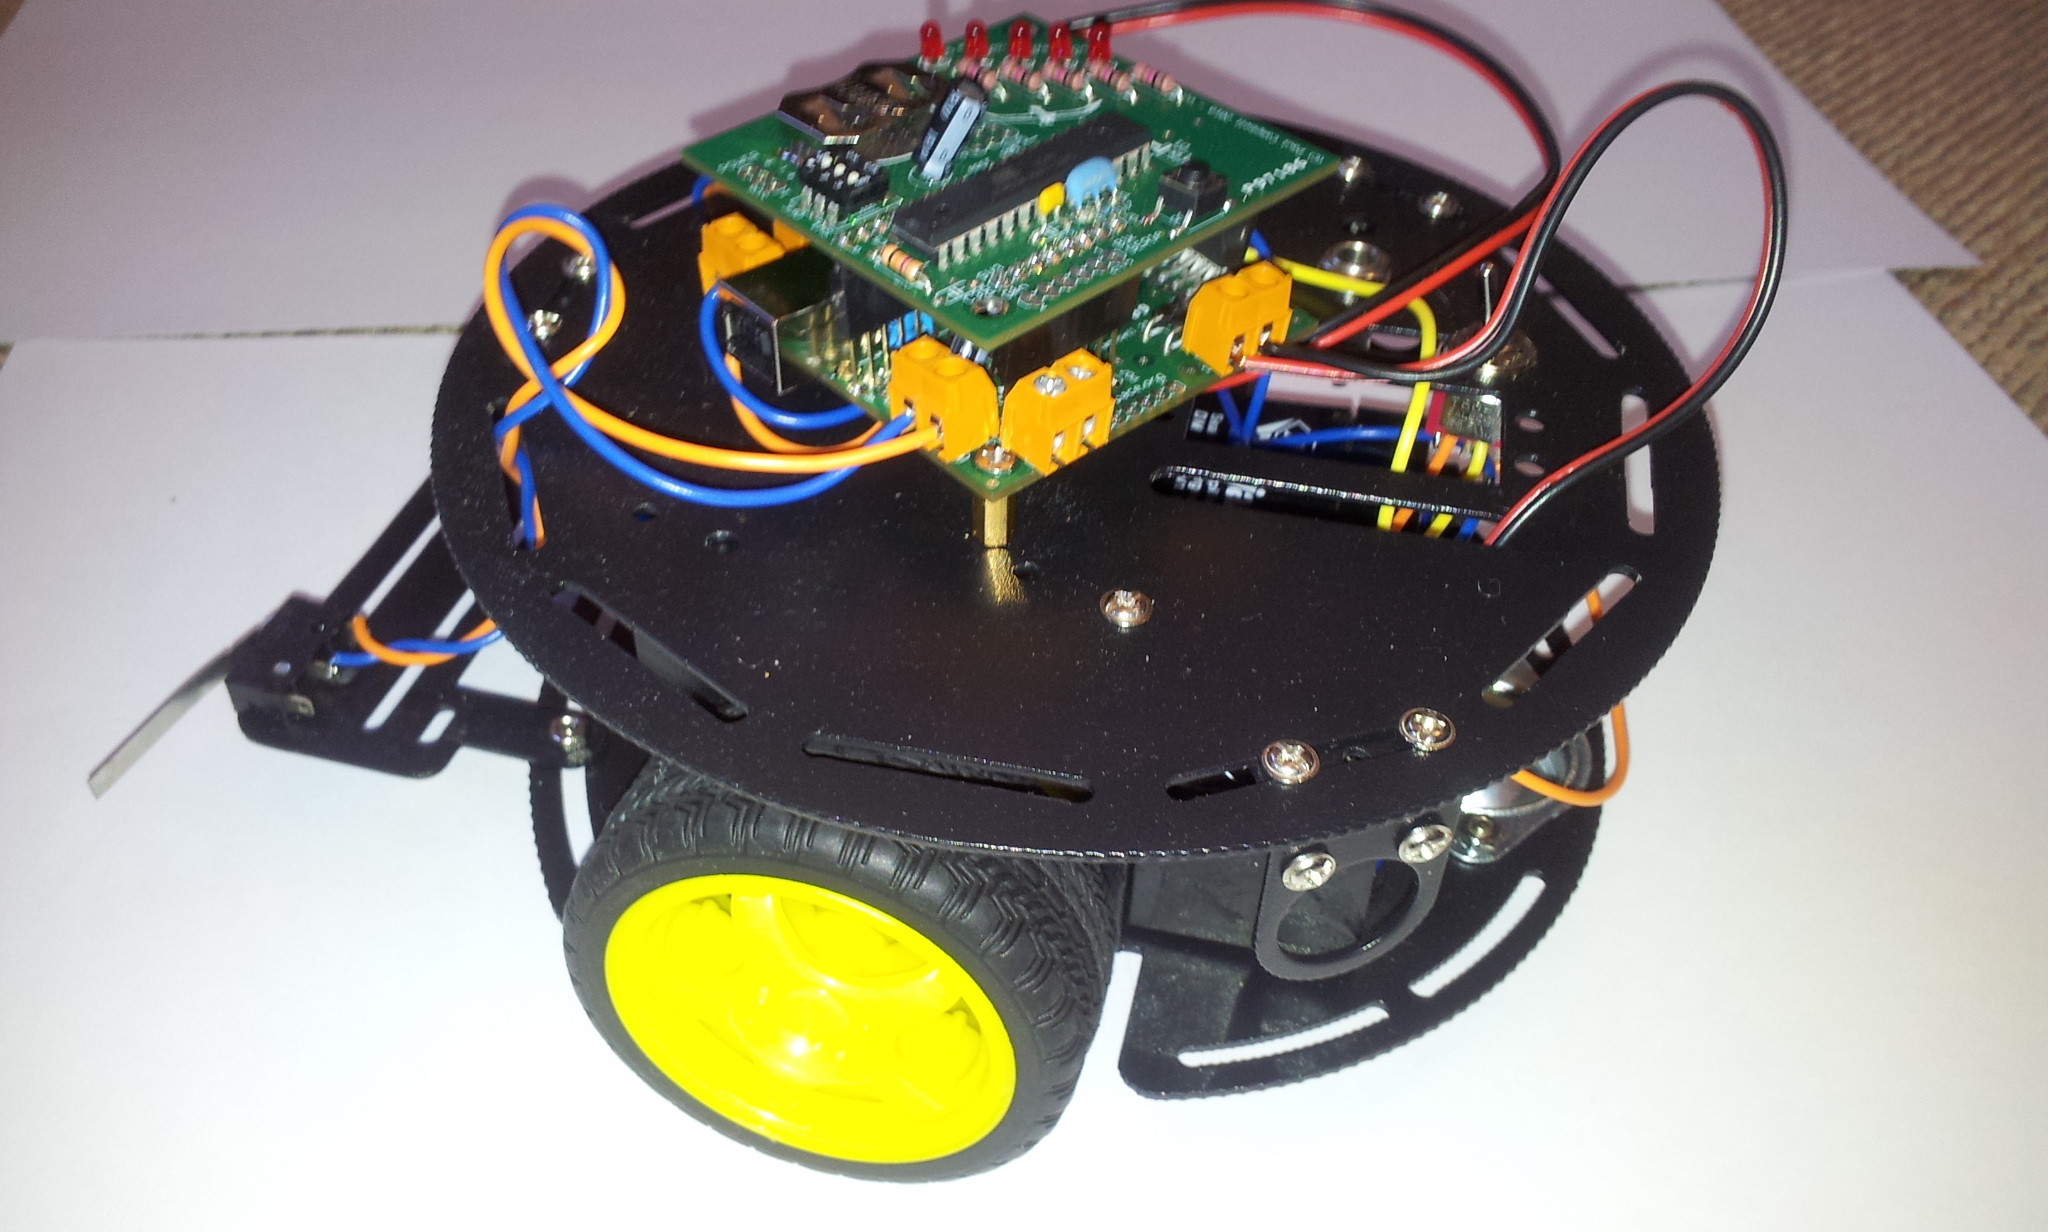
The new “badge base” kit stacks underneath your existing badge and contains a lot of empty component locations ready for you to stuff them with enough other components (not included, but available locally in Dunedin) to build a simple robot

You can find build instructions at  http://taniwha.com/~paul/dspace.base/

We still have badge kits and if you haven’t built one yet this is the place to start – they’re good for real beginners, bring the kids along. Both badge kits and badge base kits are $20 each, they’ve been donated to the Makerspace so 100% of what you pay goes to pay our rent. If you have paid a full annual Makerspace membership you can claim a free kit as a bonus.

Sediment Profile Imaging (SPI-Scan) Project

Sample SPI

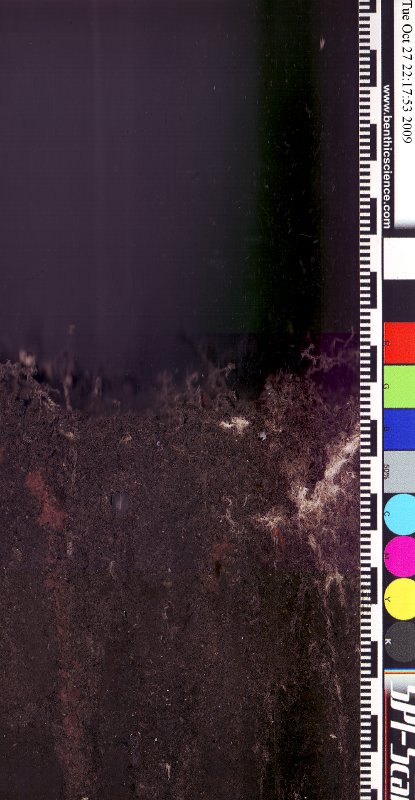
Last year at the joint D-Space/DunLUG meeting I made  a brief presentation on one of my research projects – the SPI-Scan system.  Several of my first prototypes are currently being used by universities, government agencies, and private consultants domestically and internationally to monitor the ecological health and human impacts on  shallow coast environments, especially mariculture farms, coastal developments, and ocean discharges.  After receiving feedback I wanted to take the next model ‘to the next level’ and built most of the optical mechanical systems, but the heart of the new system lay in improved electronics and code.  Early this year I proposed a group D-Space project to achieve a few goals:  1) build a new system that incorporates open-hardware and open-source code, 2) challenges us as makers with real-world problems to help expand each of our skills, 3) provide much-needed funding to D-Space.  The project is big, so all are encouraged to share their talents and get involved in some small part of it!  (The presentation .pdf is here, 2 MB). Continue reading “Sediment Profile Imaging (SPI-Scan) Project”

Bookscanner project

Here are some notes on my book-scanner project, inspired by diybookscanner.org. This is a work in progress and will initially be a single large page and I’ll probably update it and split it into a Lessons Learned (blind alleys, problems, workarounds and eventual solutions) section at some point. Continue reading “Bookscanner project”