Electronics 101

I’ve included here the electronics1 talk I gave this week as a PDF

Remember the simple takeaways from this talk:

– the relationship between voltage, current and resistance – in particular bigger resistors mean less current

– capacitors pass AC and block DC

– inductors block AC and pass DC

– bipolar tranistors control a large amount of current with a small amount of current

– FET transistors control a large amount of current with a voltage

Please go and play with the excellent circuit simulator at:

http://www.falstad.com/circuit/e-index.html

try playing with resistors, current and voltage – and of course grab some and a meter at Makerspace and have a play

Week 2 talk electronics2 is also here as a PDF – transformers, diodes, power supplies, op amps and timers
 

Using solder stencils

I talked last week (April 18th) and gave a demo of using solder stencils to  make surface mount PCBs  and promised to post useful links.

I had my stencil made by Smart Prototyping ( http://smart-prototyping.com) – they offer stencils starting at $20 when boards are made (http://smart-prototyping.com/index.php?route=product/product&product_id=142)

Seeed (http://www.seeedstudio.com) also offer stencils for $70 (http://www.seeedstudio.com/depot/pcb-stencil-service-p-1391.html?cPath=185)

I ordered the stencil jig from AliExpress from: http://www.aliexpress.com/wholesaleproduct/wholesaleProductDetail.htm?productId=671199709&productSubject=NEW-stencil-printing-machine-24-30cm-Stencil-Printers-SMT-Stencil-Printers-manual-stencil-printer-with-solder – they come in a bunch of different sizes

I ordered my cheap reflow oven also on Aliexpress  from: http://www.aliexpress.com/wholesale?SearchText=t962&CatId=0&catId=

Stencils can also me made on a stencil cutter (http://blog.makezine.com/2011/11/01/solder-stencils-via-electronic-craft-cutter/ – google around there are lots of articles)

LED Throwies

Well we’re starting up for the year – in fact we’ve already sort of started with regular Thursday and Saturday open workshops for the past few weeks – on March the 14th we’re going to have our first organised night – of you haven’t come before or want to check us out come on down – we’re going to make LED throwies in honour of the first night of the fringe festival – we’ll have parts for sale – these are buildable by anyone without any prior experience other than ability to use masking tape.


http://www.instructables.com/id/LED-Throwies/


It’s that time of year again – financially we’re running on empty – time to pay your yearly dues – they haven’t changed from last year:


– $20/month for waged or preferably $240 for the year in advance – we’re still offering a free kit (badge or base) or, this year, an LED throwie pack if you pay for the year

– for the unwaged and students – a gold coin please in the blue box

– if you’re a member so are your kids

– no one will be turned away

Beginner’s soldering

A month ago we did some freeform soldering for beginners, this coming week we’re going to repeat the board soldering night for beginners we did last year. Thursday this week May 10th is board soldering night – please bring along a soldering iron of you have one.

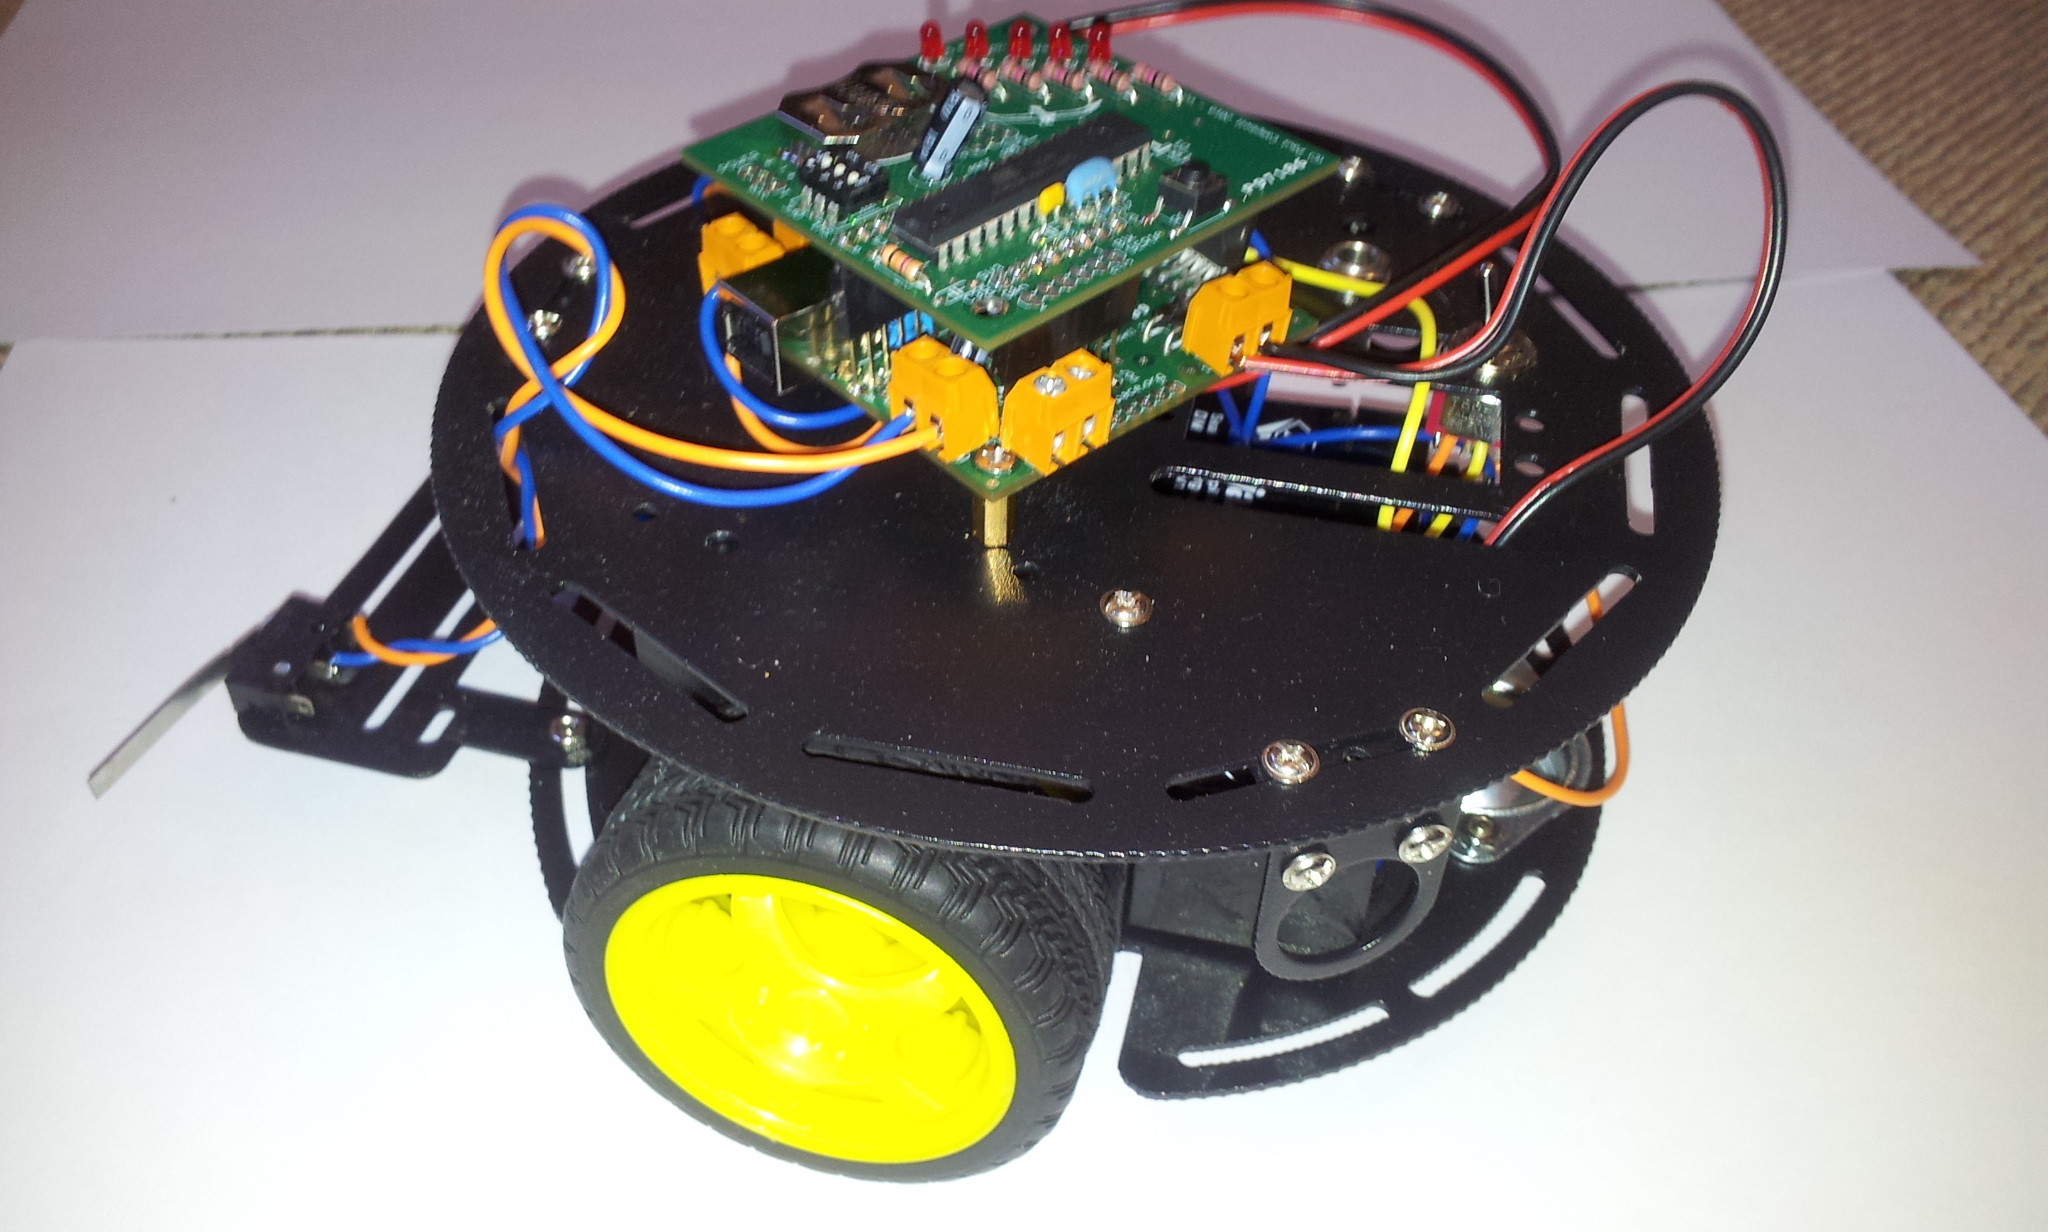
Last year we built badges with an Arduino on it that could do blinky LEDs, they were hard to program though without a special cable and used expensive 3v batteries. This year we have a new add-on kit that rectifies those limitations of the badge kit – it includes a USB to serial converter and allows you to power your badge from your computer.

The new “badge base” kit stacks underneath your existing badge and contains a lot of empty component locations ready for you to stuff them with enough other components (not included, but available locally in Dunedin) to build a simple robot

You can find build instructions at  http://taniwha.com/~paul/dspace.base/

We still have badge kits and if you haven’t built one yet this is the place to start – they’re good for real beginners, bring the kids along. Both badge kits and badge base kits are $20 each, they’ve been donated to the Makerspace so 100% of what you pay goes to pay our rent. If you have paid a full annual Makerspace membership you can claim a free kit as a bonus.

Talk: Beginning electronics courses

I’ve started giving a series of basic electronics courses at Makerspace – these are aimed at everyone including complete beginners – I’m avoiding maths as much as possible, the idea is to get an understanding of what’s going on in a circuit without getting bogged down in the details – your goal should be to be able to look at a schematic, ask yourself  “what’s that thing for?” and be able to make a reasonable guess

I’m making heavy use of the excellent circuit simulations at http://www.falstad.com/circuit/e-index.html – your browser will need java enabled to use them.

The first session was very basic – the slides are in the PDF file below
– if you couldn’t make it you should be able to follow through the talk – the main goal here is to end up playing with the circuit simulation examples – poke at things, change the values of voltages, resistors, capacitors to see what happens (just click on them)

http://www.taniwha.com/~paul/electronics1.pdf

Talk: 3D printing

Here’s some references from the 3D printing talk:

First of all Thingiverse where you can find 1000s of things to build and make
http://www.thingiverse.com/

—————————————————————-

The “reprap host” slicing application can be downloaded from reprap.org

http://www.reprap.org/wiki/Installing_RepRap_on_your_computer

you’ll need a working Java runtime to use it.
You need to download the config file for our working reprap from:

http://www.taniwha.com/~paul/reprap.properties

install it in ~/.reprap (or wherever else reprap host stores stuff on your computer). To slice:

  • press ‘load STL’ to load an object
  • drag the loaded object a little on to the be – about 1 square diagonally
  • press the green ‘Print’ button

always quit and restart reprap host between objects – put the resulting ‘.gcode’ file on a USB key and bring it in to print

—————————————————————-

There’s also a design guide to help you make stuff that prints well:

http://www.reprap.org/wiki/File:FFFDesignGuide.pdf

OpenSCAD – the 3D CAD program I was using is available at:

http://openscad.org/

Instructions for repairing bogus STL files:

http://www.makerbot.com/blog/2010/08/04/the-makerbot-operators-tips-video-001-solving-manifold-problems-in-blender/
You can also use netfabb http://www.netfabb.com/.

Competition: Clothesline Racing

As announced at last night’s meeting we’re having a competition: Clothesline Racing

The basic idea is to build a device that will travel from one end of a clothesline to the other and back again – there will be (chocolate) fishy prizes. The clothesline will be strung outside, as level as we can and fairly taut – but will probably dip a little in the middle.

The rules we’ll be using will be the same as those listed below:

http://www.tcmaker.org/blog/2010/10/clothesline-race-o-rama-mk2-sat-nov-20-2010/

with some minor (largely metric) changes – we’ll have a 30m line (if we can find somewhere that we can set it up – so plan for 30m), it’s 3.5mm wire, the weight limit is 2kg and the volume limit is a 1/2m cube.

We’ll also have some contest categories for those still in school The contest will be held in 2 months – probably July 2nd weather permitting. In the mean time, so you can test out your entries, we’ve set up a short course in the Makerspace – it’s about 1/3 the length of the one we’ll use on the day and only has one end stop – hang your racer above the sink end send it across and back again. We ask that you don’t test here entries that will make a mess – that water rocket, the contraption with baking soda and vinegar, they’ll be OK outside on the day, but please not in the makerspace.

This is something for which everyone should be able to hack together an entry – for some ideas here are some things that others have tried.

http://www.flickr.com/photos/noiseislife/sets/72157622667995260/with/4046598371/